Wednesday, July 20, 2011

Happy Pirate Pillow

I've been having a great time making pillows.  I've only completely finished one, the rest are awaiting binding.  The one I've finished is for my son.  I think he likes it.
The Wee Monsieur requested a pirate pillow with black and red.  That's what he got.
I just did simple stripes and random linear quilting in black and red.
Joann's was light on pirate fabric, but I thought the dancing skeletons from the Halloween section worked nicely.  The binding was this awesome black and white print that looked like swirling waves to me, but a certain small boy declared it not pirate enough for the pillow.  I tried to use it for the back, but he caught me.  I had already cut the binding so I went ahead and used it.

I used the black and white print to line the back.  I used the extra fabric from piecing the the front for the envelope closure on the back.

This was the first time I machine sewed the binding.  It turned out so well.  This pillow should be able to be washed and played with for years.

Let's see how happy the recipient was.
I love making things that make people happy.

WIP B's Bento Box Quilt

I worked out a great deal with a friend of mine, B.  She bought all the material to make a queen size quilt and I get to make the quilt.  B is also paying for the professional long arm quilting.  I get to do all the fun stuff and I didn't have to pay for materials.  B chose a pink and chocolate brown color scheme, one of my favorite combinations.

B wanted something rectilinear and I've always wanted to do a bento box, so that's what we decided on.
I made all the squares and and cut them into quarters.  Now I'm in the process of sewing them back together again.  Working on this quilt makes me so happy.  I love pink and brown together.

I've pull MIL's framed squares out to finish it up.
The in law's 40th wedding anniversary is coming up and I want to give them this quilt.  I need to get it done.  I got stuck on the back, but now it's looking good.
MIL is an English teacher and when I saw the bookshelf quilts appearing I knew I needed to work that into her quilt.

Linking up to Freshly Pieced
WIP Wednesday at Freshly Pieced

Tuesday, July 19, 2011

How to put a rectangular picture in a square frame

I've been decorating and found some great frames in the clearance section at Target.  They had "art" in them already, but they were simple classic frames and I knew I could rip out the ugly "art" and put my own  pieces in the frames.  I love looking for framed "art" that is cheap, but has a nice frame.  Often you can get frames much cheaper that way, than if you bought empty frames.

 I thought this would make a great addition to my art wall in the living room.  The problem is that the only frame I had that was close to be big enough was square.
I used one of my big square frames from the clearance section.  But how to put a rectangular picture in a square frame?  the first problem was the grey and cream border on the picture.  The central image was about 2 inches smaller than the opening in the matting.  If you stuck it in the frame as it was, the picture would run under the frame and look like junk.

My solution was to carefully trim off the grey and cream border from one edge.
 Then I measured the height and transfered that measurement to the width to get a square image to fit in my square frame.  I slid the strip off to my pencil mark and taped it down.
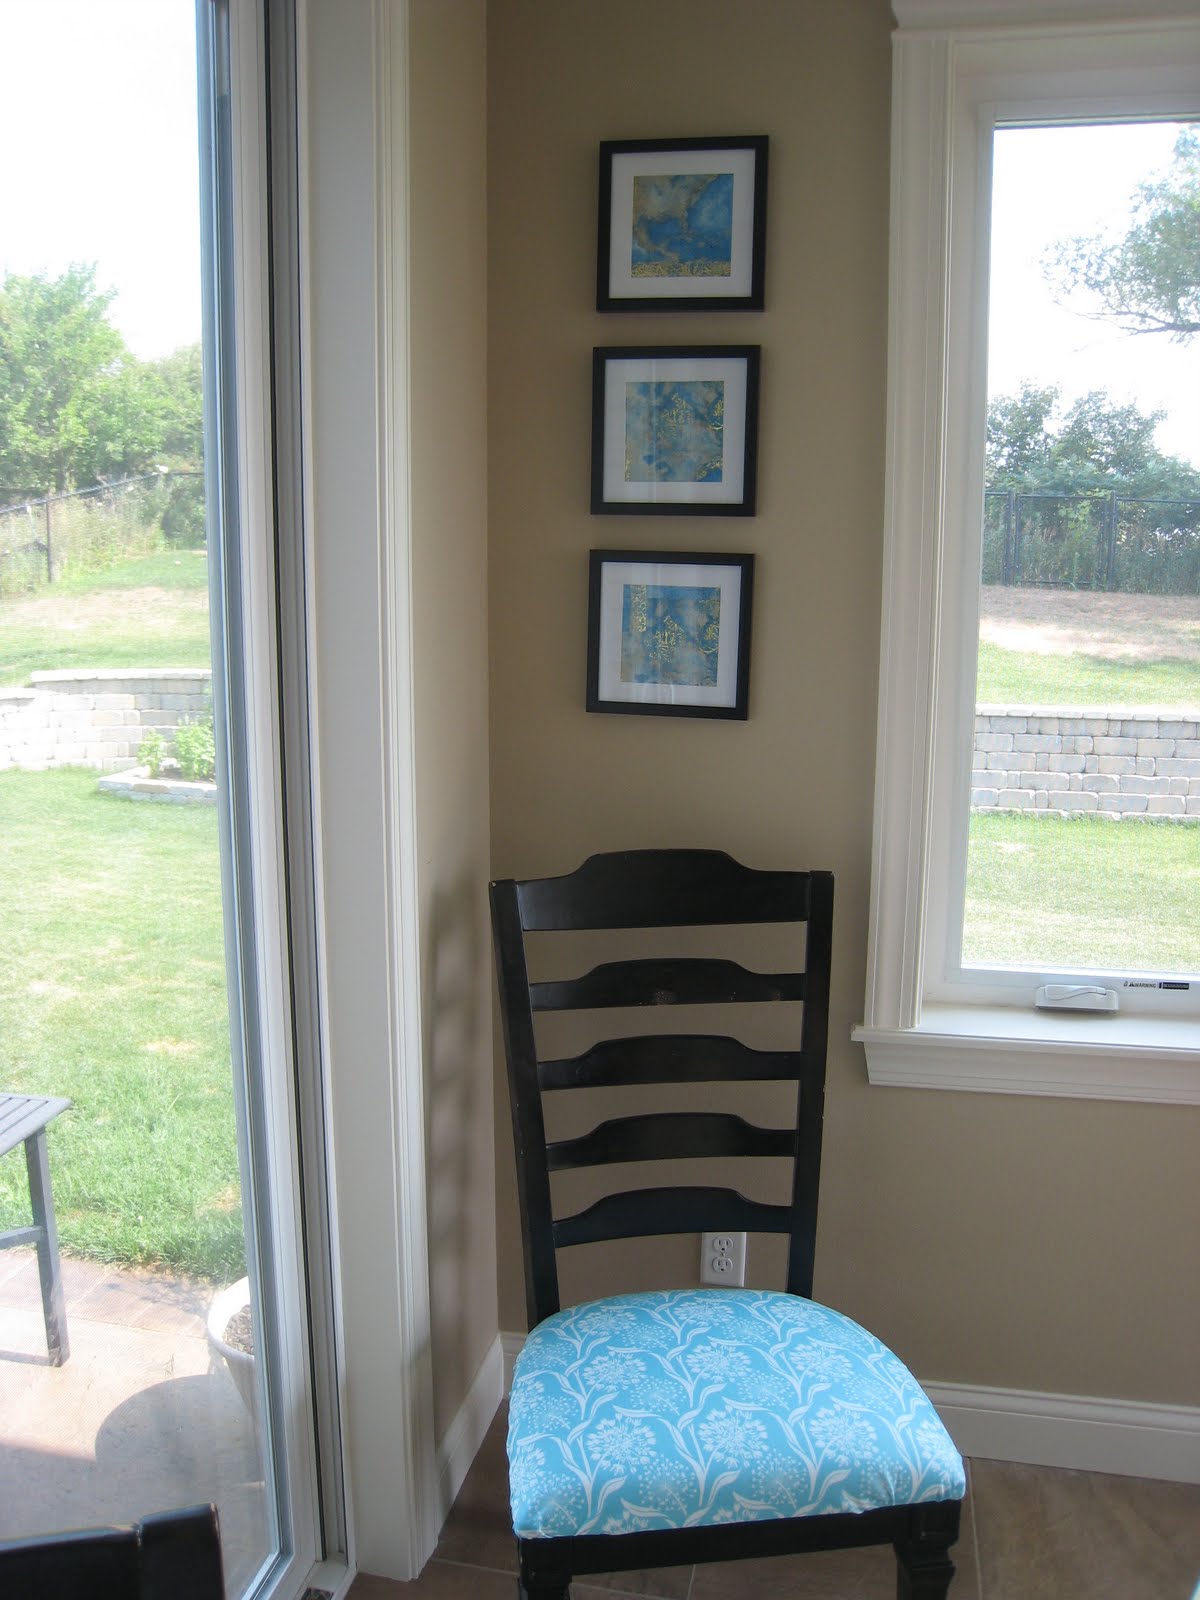
From the wall, in a frame, no one will ever know that this was originally a rectangular image.

I wouldn't recommend doing this with real art.  But this image was just the picture from an old calendar.  I saved it because it really looked like a watercolor and I knew once it was framed no one would look closely enough to tell that it was a calendar print instead of a real watercolor.

Clockwise from the top left, the art is a print from a calendar, a scrap of scrapbook paper from the dining room project, a hand tinted print I got in Rome when I was in college, a photo I took in Krakow, the print of a pen and ink sketch that I got at the National Gallery, an original oil painting that Hubby bought me for Christmas 2 years ago, and the reproduction of an old postcard from my college.  Originally I wanted to only put "real" art on the wall, but I'm tired of look at blank walls, so I put some fakes up and frankly most people will never look closely enough to tell real from reproduction.

Monday, July 18, 2011

Decorating the dining room

Like I said, I've been on a decorating kick for the last coupe of weeks.  I'm tackling the dining room and living mostly.  The rooms have good bones, but were a bit bland.  I got some color up on the dining room walls.  I'm working on the dining room chairs.  They are a plain black ladder back chair that we've had for 6 years.  They are ridiculous comfortable, but frankly I always intended to reupholster them.  The upholstery is a generic beige.  Six years and two kids later they are worn and stained.  We won't even talk about the one Baby Girl peed all over.

In early Spring, I got 6 yards of Kate Spain's blue allium print in the laminated cotton.  I thought laminated would be a great choice for little kids who like to spill and wipe their sticky, ketchupy fingers on the chair seat.  I've only done one so far, but I love the look.
Doesn't the wall "art" work nicely with the chair and it's seat?

Living room wall decorating

Our house has a completely open layout and huge windows, which means there isn't a lot of wall space.  There is one wall in the living room.  I wrote about the piece I have on the wall here.   There's the gigantic TV and the quilt above it and that was it until now.
I got a huge painting from my grandmother that needs to go on the wall next to the TV.  In an effort to balance out the big painting that will go one side, I've been working on a collage of pictures for the right side of the TV.  I started with a painting that Hubby got me for Christmas 2 years ago and worked out from there.  I've tried wall collages before and they never look quite right, plus they are a pain.  So much measuring and so much frustration.  Then I read the most wonderful tip.  I'd link to the original source, but I can't find it.  The tip is to cut out templates the size of each of your pictures and then use painters tape to put them up on the wall.  I marked the location of the mounting hardware on the template.  When you get the templates in the right spot, you nail through the template where you marked the mounting hardware.  There's no measuring and no frustration!
 Here is the collage in progress.  you can see two of the paper templates still on the wall.  I used paper grocery bags and taped pieces together when I needed a big one.
Here is the finished collage with the quilt and the TV.  I ended up switching the two bottom pictures after I looked at it for a few hours.

I auditioned a few different pictures before I settled on the ones I hung.
I keep a portfolio of things I've collected over the years that need to be framed.  I buy frames when I find them cheap and then fill them with stuff from the portfolio.  If you need to custom frame an item, it's much cheaper to use a pre-made frame and get the matte cut to fit.  From this collection, I only ended up using the top two pieces on the left and one of the Target clearance frames on the bottom.  I changed out the frame on the piece in the gold frame on the right and put it on the mantle.

Soon I'll show you the neat trick I used on the image I put in the clearance frame.

Friday, July 15, 2011

Home decorating projects

I've been busy working on some decorating projects.  We've lived in this house for 20 months and I still have piles of pictures sitting against walls.  Our dining room was particularly bland.  It is mostly windows, so there isn't a lot of room to put color on the walls.


I found some ugly "art" at Target on clearance.  I got six 10 inch frames for $1.98 a piece.

That's less than $12 total.

I ripped out the "art" and replaced it with scrapbook paper.
I was going to use fabric, but in the end I couldn't bring myself to cut up my pretties.  I have lots of scrapbook paper that is just sitting around, so I used that.  This paper had sort of map print with some gold foil highlights.  I thought about using vintage maps, but I didn't have any.  I finally thought of something that I've deacquisitioned (got rid off), that now I wish I had.  I gave away a 1950's school atlas a few years ago.  Oh well, it never sat on a shelf nicely and I probably wouldn't actually have brought myself to cut up a book.  I could never underline or write notes in my books in college.  I doubt I could cut one up.

So for $12 and 3 pieces of scrapbook paper, I got this.
It's an improvement.  Wait until you see the next stage.  I'm recovering the dining room chairs with a laminated cotton from Kate Spain's Central Park.  I'm using the blue allium print.
I've only done one chair so far.  This stuff is not easy to upholster with.  It doesn't ease around corners the way regular upholstery fabric does.  Stay tuned for pictures.  I'm also working some pillows for the living room.

Tuesday, July 5, 2011

Golf accessories

Every once in a while, Hubby asks me to make him something.  I'm always happy to oblige.  He never asks for full body skeleton costumes like the other male in the household.  Hubby's requests are usually more straight forward, a knitted head cover for a gold club, a wall hanging for his office, etc.  That golf club head cover was a spectacular fail.  Hey, I found a picture of it.  It's too funny looking not to share.  I'm going with it looks like a morel mushroom, but I'll leave it up to your imagination what Hubby said it looked like.
Anyway, it now covers Hubby's grandfather's putter, which Hubby doesn't golf with, but plans to keep forever.  At least it's being used.

The most recent request was also golf related.  Hubby got a couple of new clubs (don't ask me what kind) and one of them came with an incorrectly labeled head cover.  So he had two different clubs with the same head cover.  Confusing, right?  He asked me to make a new badge to stick on one of the head covers so he could tell them apart.  I have an embroidery machine, so this shouldn't be too hard.  The original badges were black with white lettering and he wanted the new one to be red.  I suggested yellow lettering so it would go with his bag which is black and red with yellow accents.

Here is the old badge and the new bit that I did using quilt scraps of course.  Actually this is the second one I made, because he liked the first one so much.
 I embroidered the number and the circle around it, then sewed it to the original badge which already had the velcro on the back.  Plus, that made the badge much sturdier than it would have been just being made of quilting cotton.
Here are the final products.  I zigzagged around the edges with the embroidery thread to get a more substantial edge and really secure it to the original badge.

Monday, July 4, 2011

Happy 4th of July, I knit a hat

Towards the end of last winter I realized everyone in the family had a hand knit hat, except me.  I decided that needed to be fixed.  I'm not a big knitter, but I can handle scarves, hats and the occasional very simple baby sweater.  I needed a hand work project to work on at the in laws in May, so I started my hat.  I'm not much for patterns, so I just cast on what seemed like a good number and set to work, thinking I could always frog it, if the size was horrendous.  Fast forward to the last week, when we had visitors in town, so I pulled the hat out again to work on while chatting.  Last night, I thought I should just go ahead and finish it.  Hubby and I were watching Green Hornet, which is a such a bad, lame movie.  It wasn't bad enough to be funny, it was just lame.  Anyway, I did get my hat almost done.  I got all the decreases done and was about to tie it off, but the movie wasn't over.  Then I thought about those baby hats with the stem on the top.  I'd always wanted to try it and the hat was rather plain, so I went for it.  Here I am modeling the hat I finished off this morning.

 I thought it might flair out more at the bottom, but it didn't.  Oh well, it will keep my head warm as I shovel snow next December.


A good shot of the top of it on the Wee Monsieur.  I just love a self striping yarn.
 Isn't the little knotted stem on top cute?  Now I know how to do it, I might try a pumpkin hat for the next baby I run across.